Okta Verify
Okta Verify is a mobile app that supplies a limited time code or push notification for logging into SCP. This app is available for iOS devices in the App Store and for Android devices in the Google Play Store.
Setting up Okta Verify
To begin, install Okta Verify by clicking on the links below.
- iOS: https://itunes.apple.com/us/app/okta-verify/id490179405
- Android: https://play.google.com/store/apps/details?id=com.okta.android.auth
If you have already logged in and setup an MFA method, you will need to Change Authentication Methods and continue the setup.
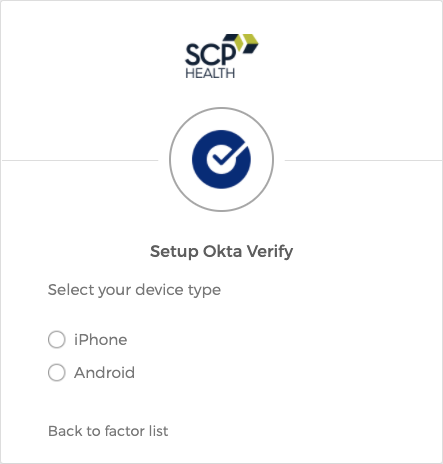
On the next screen, select your device type and click Next.
You should now see a QR Code on your screen, which is a square barcode. You will configure Okta Verify by scanning this code with your phone’s camera.
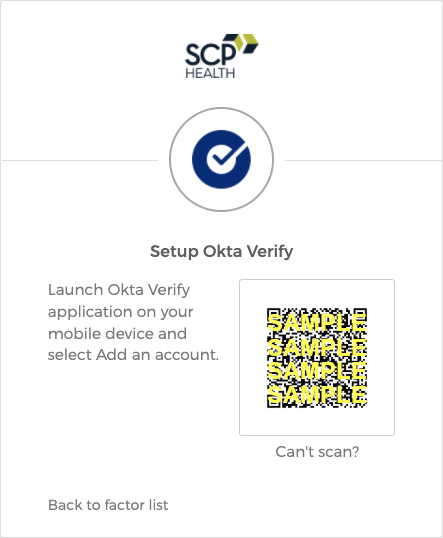
If you are using a desktop computer, open the Okta Verify app on your phone. Tap the + button to add a new account. You may need to grant the app access to your device camera in order to continue. The app will then open your camera. Use this to scan the QR Code, and Okta Verify will add this account to your app.
Once the app is configured, the setup page should now show Okta Verify under Enrolled Factors with a green check mark. Click Finish to complete the process.
If you are using a mobile device, tap “Can’t scan?” under the QR code. You will be given the option to activate Okta Verify via Email, SMS, or manually without Push Authentication. Follow the below instructions for your chosen activation method:
- Select Send activation link via Email and tap Next.
- On your mobile device, check your inbox for an email from Okta. Open it and tap Activate Okta Verify Push.
- The Okta Verify app will open, and you should see a message that reads: “Enrolled in Push Authentication”.
- Return to the setup page and ensure Okta Verify is displayed under Enrolled Factors.
- Tap Finish to complete the process.
SMS
- Select Send activation link via SMS.
- Enter your cell phone number and tap Next.
- You will receive a text message from Okta. Open this message and tap the link in it.
- The Okta Verify app will open, and you should see a message that reads “Enrolled in Push Authentication”.
- Return to the setup page and ensure Okta Verify is displayed under Enrolled Factors.
- Tap Finish to complete the process.
Manual Setup without Push Authentication (not recommended)
- Select Setup manually without Push Authentication. This will display a secret key you will use to configure the app.
- Open the Okta Verify app. Tap the + button, then tap “No Barcode?”.
- Enter your Okta account username and the secret key displayed on the setup screen, then tap Add Account.
- On the setup page, tap Next. Tap the code displayed in the Okta Verify app to copy it, then paste it in the Enter code field and tap Verify.
- Ensure Okta Verify is now displayed under Enrolled Factors.
- Tap Finish to complete the process.